Hey Baker!
I hope you had an awesome summer! In mid-August, I had the opportunity to participate in the Multitude Zine Festival for the first time. As someone who usually works alone in the studio, meeting other creatives in person was one of the highlights of the event. It's always refreshing to connect with others who share similar passions.
However, as someone who isn’t particularly vocal or outgoing, I often find small talk challenging, and meeting a large number of strangers can be daunting. Despite these initial nerves, I met so many lovely people who were kind and welcoming. To my surprise, I ended up enjoying the festival a lot more than I expected!
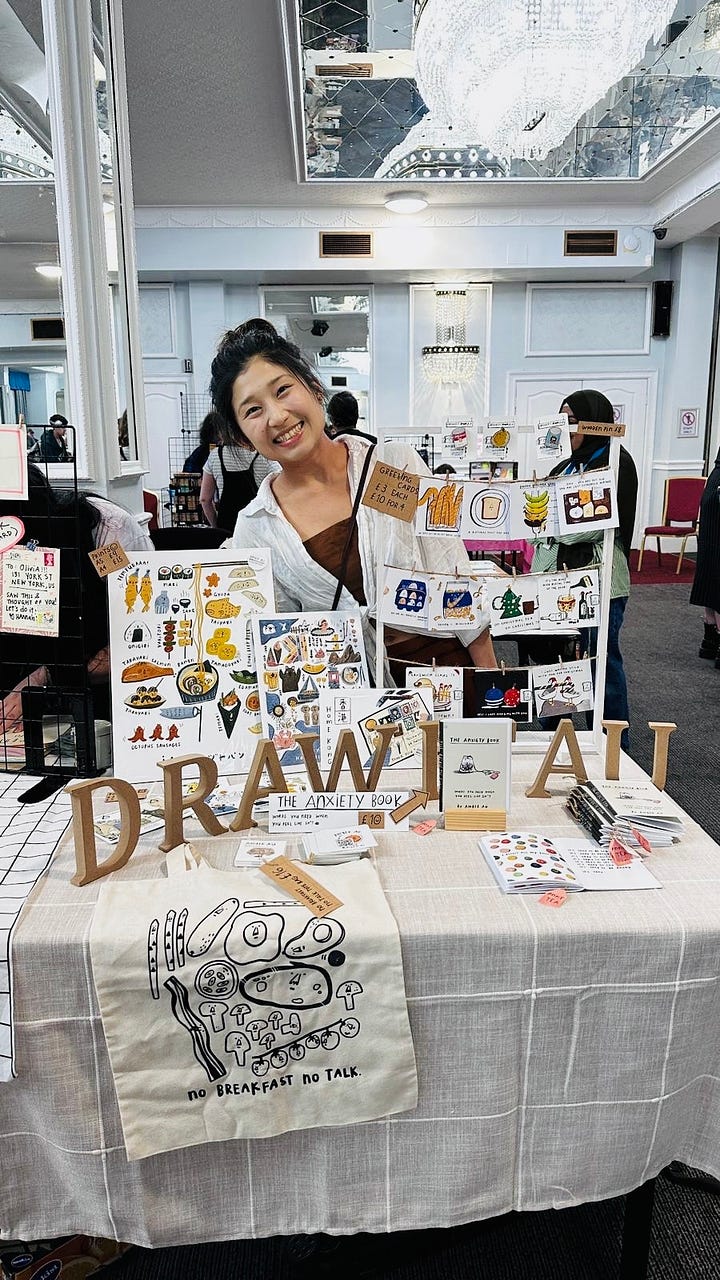
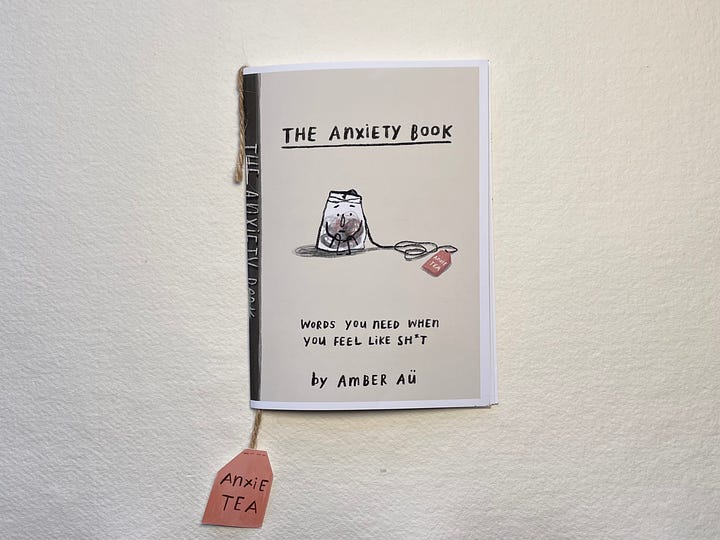
For the festival, I created a zine called The Anxiety Book—a self-care gift book featuring an affirmative quote on each page, paired with illustrations. Affirmative quotes have always played a significant role in my life; their simplicity can be incredibly powerful. My hope is that The Anxiety Book will help others feel less anxious on tough days or simply bring a bit of joy to their lives.
Although I had been planning this project for over two months, I didn’t actually start creating it until two weeks before the zine festival—classic procrastination and perfectionism at work!
Despite the tight timeline, I’m glad I managed to put my first zine together. If you’re interested, you can purchase it here.
Here’s a breakdown of my process, which I’ve organised into four parts: planning, illustrating, printing, binding and assembling.
1. Planning
As I mentioned earlier, I love drawing quirky food characters and am obsessed with affirmative quotes. Combining the two felt natural for this gift book. Coming up with ideas was easy, but I didn’t anticipate how much time I’d spend arranging the pages in the right order.
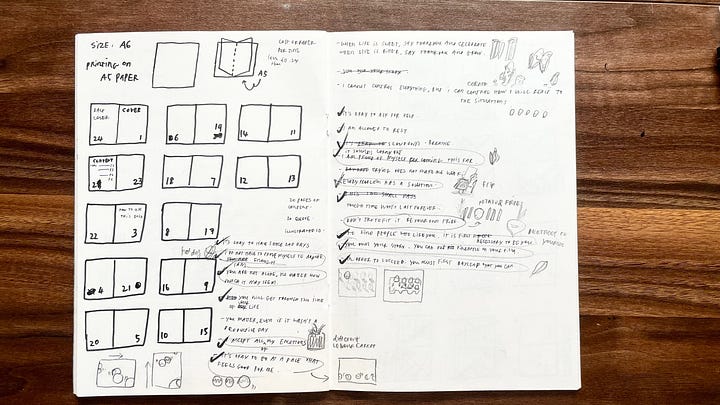
The page numbering was confusing, and even though I watched numerous YouTube tutorials and scrolled through blog posts, my mind was scrambled. I finally decided to create my own layout dummy to figure out the page order (see the video below).
Using this method, I could clearly understand the page layout and determine the number of sheets I’d need. For example, page 2 had to be printed next to page 23, and page 10 had to be printed next to page 15. Creating the dummy was a huge help, not just during the planning stage but also later when it came time to print.
Once I had the hard part done, the fun began. Creating the illustrations was super enjoyable, especially with the layout guide I had made.
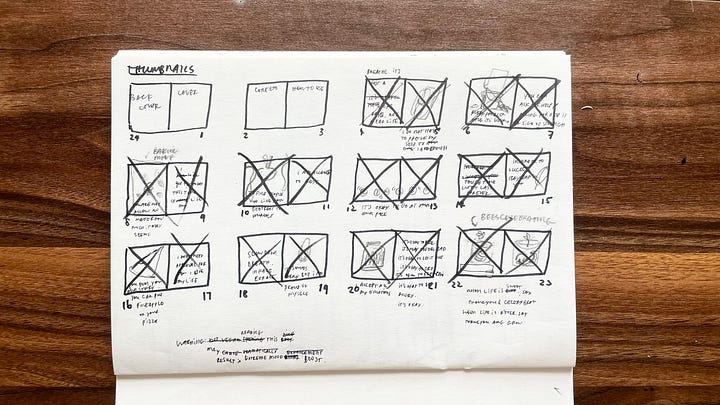
Tip! To keep myself motivated, I crossed off each page on the thumbnail once it was finished. This small action gave me a sense of satisfaction and kept me going, especially during those moments when the project felt overwhelming.
2. Illustrating
I illustrated the zine using my usual medium, Procreate. Since the illustrations in this project were relatively simple, I started with rough sketches and moved straight into finalising them. You can find a step-by-step guide to my illustration process in a previous post.
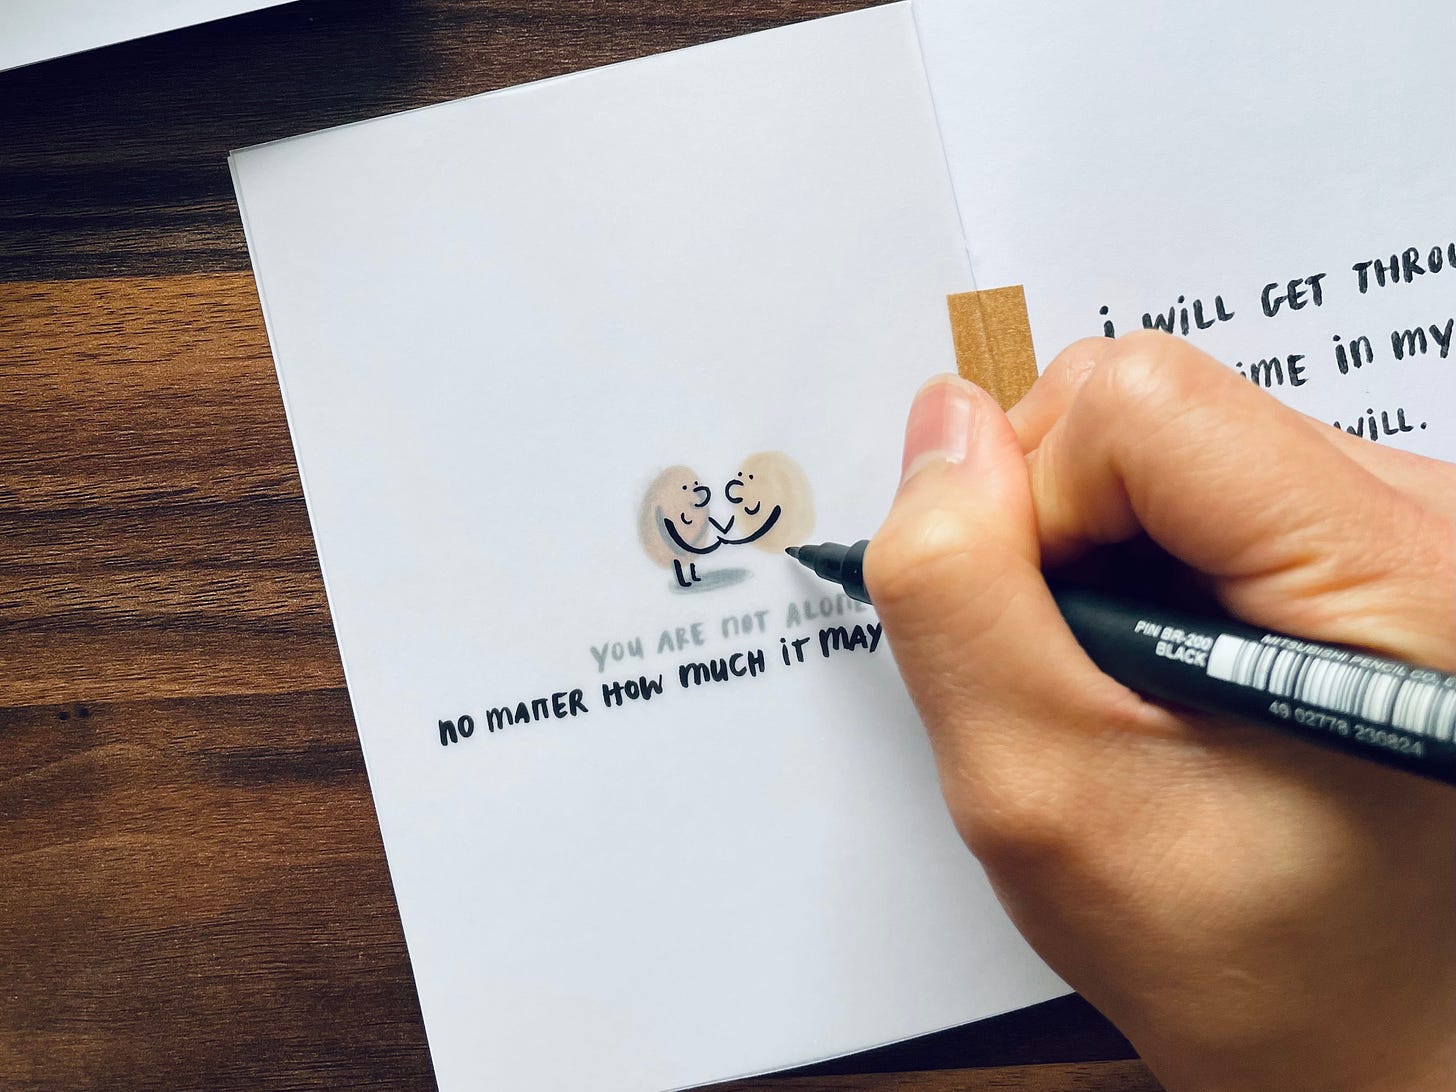
One of my favourite pages includes a tracing paper overlay to enhance its heartwarming effect. This was the first time I used tracing paper in a final product, so it involved some trial and error. Initially, I tried printing on the tracing paper, but the ink smudged—ROARRRRRRR —a complete disaster!
With time running out, I decided to draw the design by hand. Sometimes technology just isn't reliable, right? Luckily, the design was simple enough to make this achievable. In the end, it turned out to be a happy accident, adding an even more personal touch to my zine.
I will taking about the remaining processes— printing, binding and assembling in my next post.
If you are interested to buy The Anxiety Book for yourself or loved ones, you can find it on my website.


Such a cute zine, so thrilled to have a copy of this in my collection 💛🫶
This is adorable! I would love a copy of your zine. Any chance you can post to Australia?